
Most dog owners never imagine facing a situation where their dog lies unresponsive. Yet emergencies happen unexpectedly – whether from choking, trauma, heart problems, or severe allergic reactions. Having this knowledge ready in the mental toolkit creates confidence during crisis moments when panic threatens to take over.
What Steps Are Involved in CPR for Dogs?
Knowing how to perform CPR properly can mean the difference between life and death for a dog during a medical emergency. The technique combines chest compressions with rescue breathing in a systematic approach that maintains blood flow and oxygen delivery until professional help arrives.
Assessing the Situation
CPR is needed only when two specific conditions occur simultaneously: the dog is unresponsive and shows no signs of breathing. Emergency veterinary guidelines state there is no longer a need to check for a pulse before starting CPR.
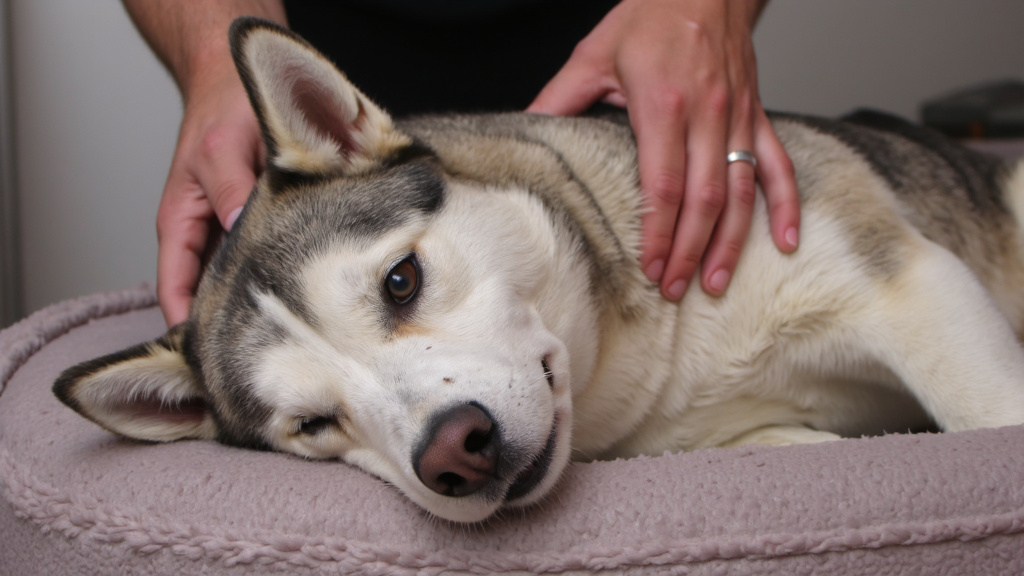
Before starting CPR, check if the dog is truly unresponsive. Call the dog’s name, gently shake them, and look for chest movement indicating breathing. If there’s no response, no breathing, and the mouth can be opened without resistance, emergency action is required.
If the dog responds or is breathing, however, CPR is unnecessary. Do not perform chest compressions if the dog shows signs of normal breathing or consciousness. Administering CPR to a dog with a beating heart can cause serious cardiovascular damage. If breathing is abnormal but present, prioritize quick transport to emergency veterinary care.
Positioning Your Dog
Place the dog on their right side on a firm, flat surface. This position provides effective access for compressions while keeping the airway optimal. For barrel-chested breeds like Bulldogs, placing them on their back and compressing over the sternum may be necessary.
Chest Compressions Technique
The compression method varies based on the dog’s size and chest configuration:
- Medium to Large Dogs (over 30 pounds): Place both hands interlocked over the widest part of the chest (where the elbows touch the chest when folded back). Lock your elbows and position your shoulders directly above your hands.
- Small Dogs (under 30 pounds): Use one hand wrapped around the chest with your thumb on one side and fingers on the other, or place one hand over the heart area.
- Deep-chested Breeds (like Greyhounds): Place your hands directly over the heart, located where the elbow meets the chest when pulled back.
When performing CPR on any dog, maintain a compression rate of 100-120 compressions per minute. This matches the rhythm of the Bee Gees’ song “Stayin’ Alive” – an apt memory aid during canine CPR.
Performing Rescue Breaths
After 30 compressions, deliver two mouth-to-snout rescue breaths:
- Gently close the dog’s mouth with one hand
- Extend their neck slightly to straighten the airway
- Create a seal by placing your mouth over both nostrils
- Blow firmly but gently, just enough to see the chest rise
- Allow the chest to fall between breaths
This mouth-to-snout technique provides critical oxygen to the dog’s system between compression cycles. The respiratory tract anatomy of dogs differs from humans, making this approach more effective than human-style mouth-to-mouth resuscitation.
The CPR Cycle
Follow this sequence:
- Perform 30 chest compressions
- Deliver 2 rescue breaths
- Resume compressions immediately
- Continue the 30:2 ratio until the dog shows signs of life or you reach veterinary care
- Check briefly for breathing and a heartbeat every two minutes.
Remember that CPR is physically demanding. If possible, have someone assist – one person can perform chest compressions while the other administers rescue breaths. This teamwork approach prevents fatigue and ensures more consistent technique during this critical emergency procedure. Consistent, high-quality compressions without extended interruptions are crucial for cardiovascular recovery.
When to Stop CPR
Continue CPR until one of these occurs:
- The dog begins breathing independently
- You reach a veterinary facility where professionals can take over
- You become too physically exhausted to continue effectively
Even if the dog regains consciousness after CPR, a veterinary examination is essential. Internal injuries or underlying cardiac conditions require professional assessment and treatment. Transport time to a veterinary facility provides a critical window where home CPR serves as a lifeline until specialized care is available.
Prevention through Education
While knowing CPR is valuable, prevention through regular veterinary check-ups offers the best protection against emergency cardiac situations. Familiarize yourself with a dog’s normal vital signs to quickly recognize when something is wrong before cardiopulmonary arrest occurs. Respiratory distress, sudden collapse, or unusual gum color can signal impending cardiac issues. Learning to spot these early warning signs might provide valuable extra minutes to reach veterinary help before CPR becomes necessary.
The best preparation for pet emergencies happens before they occur. Consider taking a pet first aid course that includes hands-on CPR practice. Store your emergency veterinarian’s contact information where it can be quickly accessed, and map out the fastest route to their facility. When seconds count during cardiac emergencies, a rehearsed response plan provides confidence during the inevitable stress of the situation.
How Does CPR Differ For Small vs Large Dogs Using The Mouth-to-Snout Technique?

The proper CPR technique varies significantly based on the dog’s size, with crucial differences in hand positioning, pressure application, and breathing technique.
Compression Techniques By Dog Size
For very small dogs weighing under 15 pounds, use a one-handed technique. Wrap a hand around the breastbone with the thumb positioned over the heart area pointing toward the spine. Apply gentle compressions by moving the thumb toward the fingers while keeping it parallel with the palm. Small dogs have delicate ribcages that require approximately 1/4 to 1/3 compression depth to avoid injury.
Medium to large dogs (over 20 pounds) need a two-handed approach. Place the hands, one atop the other with fingers interlocked, over the widest part of the chest. Position the shoulders directly above the hands with elbows locked to leverage body weight effectively. For larger dogs, aim for compressions that are 1/3 to 1/2 the depth of the chest wall.
Barrel-chested or flat-chested breeds like Bulldogs present a unique challenge. For these dogs, chest compressions may be more effective when performed with the dog on its back and hands placed directly over the sternum rather than the side position used for other dogs.
Mouth-to-Snout Breathing Techniques by Dog Size
While compression techniques vary by size, the mouth-to-snout method requires specific adjustments based on the dog’s size as well. With small dogs (under 30 pounds), it might be necessary to cover both the nose and mouth with a mouth. For larger dogs, seal the mouth over just the nose while using one hand to hold the mouth and jaw closed to prevent air from escaping.
The force of the breath also requires careful calibration. Small dogs need gentler, smaller breaths to avoid over-inflating their lungs. Large breeds require more substantial breaths, but always watch for chest rise to ensure appropriate airflow without causing damage.
The 30:2 ratio of chest compressions to rescue breaths remains consistent regardless of the dog’s size.
| Dog Size/Breed | Hand Positioning | Compression Depth | Notes |
|---|---|---|---|
| Large Dogs (e.g., Labradors) | Interlocked hands over widest part of chest | 1/3 to 1/2 chest depth | Elbows locked, shoulders above hands |
| Medium Dogs | Interlocked hands, elbows locked | 1/3 to 1/2 chest width | Shoulders directly above hands |
| Small Dogs/Cats | One hand wrapped around chest | 1/4 to 1/3 chest depth | Use thumb and fingers for compression |
| Barrel-Chested Dogs (e.g., Bulldogs) | Hands directly over the sternum (on back) | 1/3 to 1/2 chest width | Place dog on back for effectiveness |
What Should You Do After Performing CPR?

The moments immediately following CPR are as critical as the procedure itself. If a dog regains consciousness—breathing on its own with a detectable heartbeat—it does not mean the emergency is over. This is when the next crucial actions begin.
When transporting the dog to emergency veterinary care, position it carefully on a flat, stable surface. Keep its body as level as possible to maintain proper blood circulation. The sudden return of cardiac function after CPR creates a delicate physiological state where blood pressure and oxygen delivery remain compromised. A 2023 veterinary study found that over 40% of animals who initially respond to CPR require additional emergency interventions within the first hour.
If the dog hasn’t responded to CPR efforts, continue compressions and rescue breathing during transport unless a veterinary professional advises otherwise. The American Veterinary Medical Association recommends switching rescuers every two minutes if possible to maintain effective compressions, as fatigue significantly reduces CPR quality after 90 seconds of continuous effort.
Transport Safety Is Critical
The safest transport scenario involves having someone drive while CPR continues in the back seat. If alone, a quick judgment call is necessary—continuing CPR at home longer before transport versus getting to professional help faster. Whatever the decision, drive safely to avoid further emergencies.
Always call ahead to alert the emergency veterinary hospital about the situation. This advance notice allows the medical team to prepare equipment, medications, and personnel before arrival, potentially saving precious minutes. Specify that a post-CPR patient is incoming so they can ready cardiac monitoring equipment and oxygen therapy.
Be Ready To Share Information
Upon arrival, be prepared to provide critical information about the emergency situation—how long the dog was unresponsive, what may have caused the cardiac arrest, how long CPR was performed, and any signs of improvement or deterioration during transport. This information helps veterinarians make rapid clinical decisions about immediate interventions.
Even if the dog appears stable after successful resuscitation, cardiopulmonary monitoring is essential. The underlying cause of the arrest still needs to be identified and treated. Many dogs require hospitalization with intensive supportive care for at least 24-48 hours after cardiac arrest to monitor for secondary complications like cardiac rhythm abnormalities or neurological trauma.
CPR for Dogs: Final Thoughts on Preparedness and Prevention
Knowing how to perform CPR on a dog can make a life-saving difference when seconds matter. True preparedness also involves preventing emergencies. Staying attuned to a dog’s health, practicing rapid assessment, and honing emergency response skills are essential for responsible pet ownership. Beyond first aid knowledge, innovative solutions like the Halo Collar help reduce everyday risks by creating safe boundaries and offering real-time monitoring, keeping a dog protected both at home and on adventures.
Pairing practical skills with tools like Halo offers peace of mind and an added layer of safety for dogs. For more tips on protecting pets, visit the Dog Safety page.