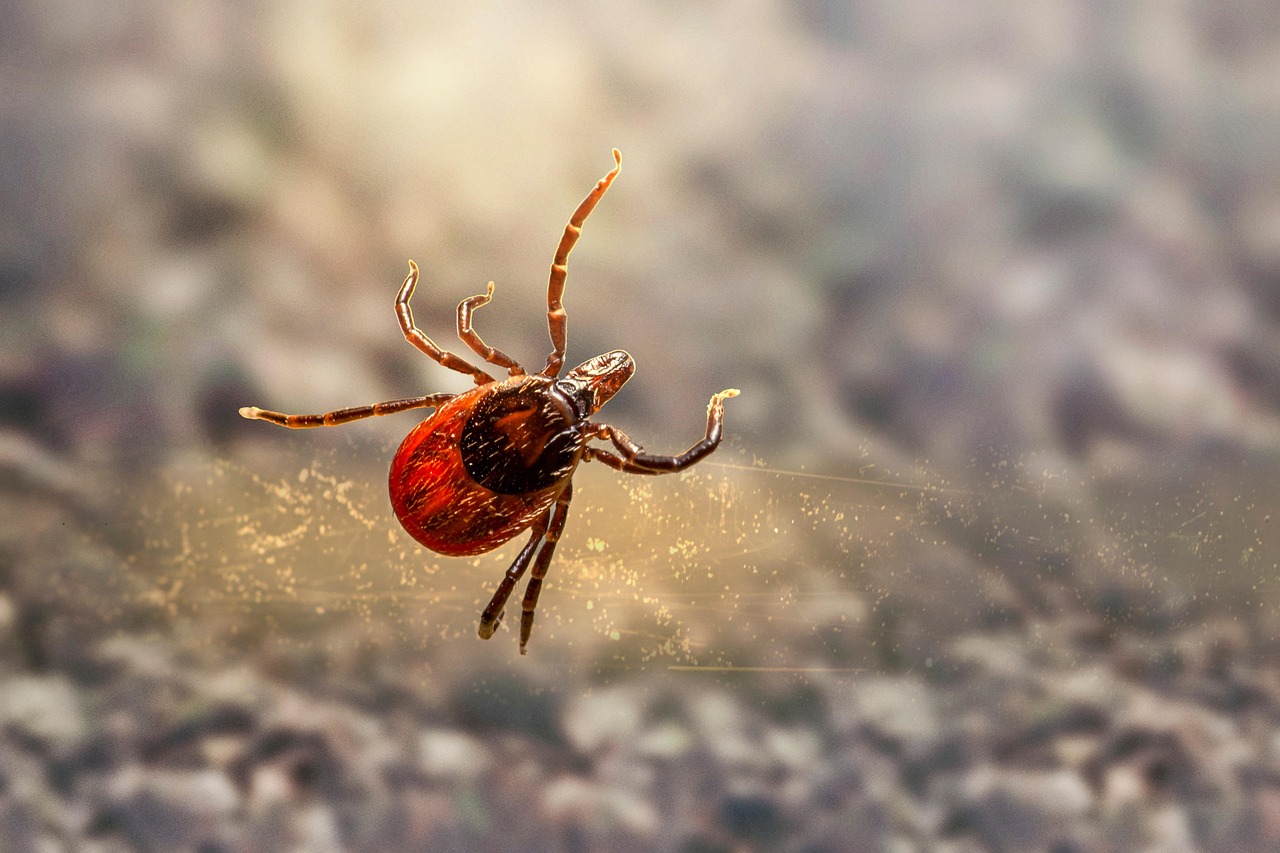
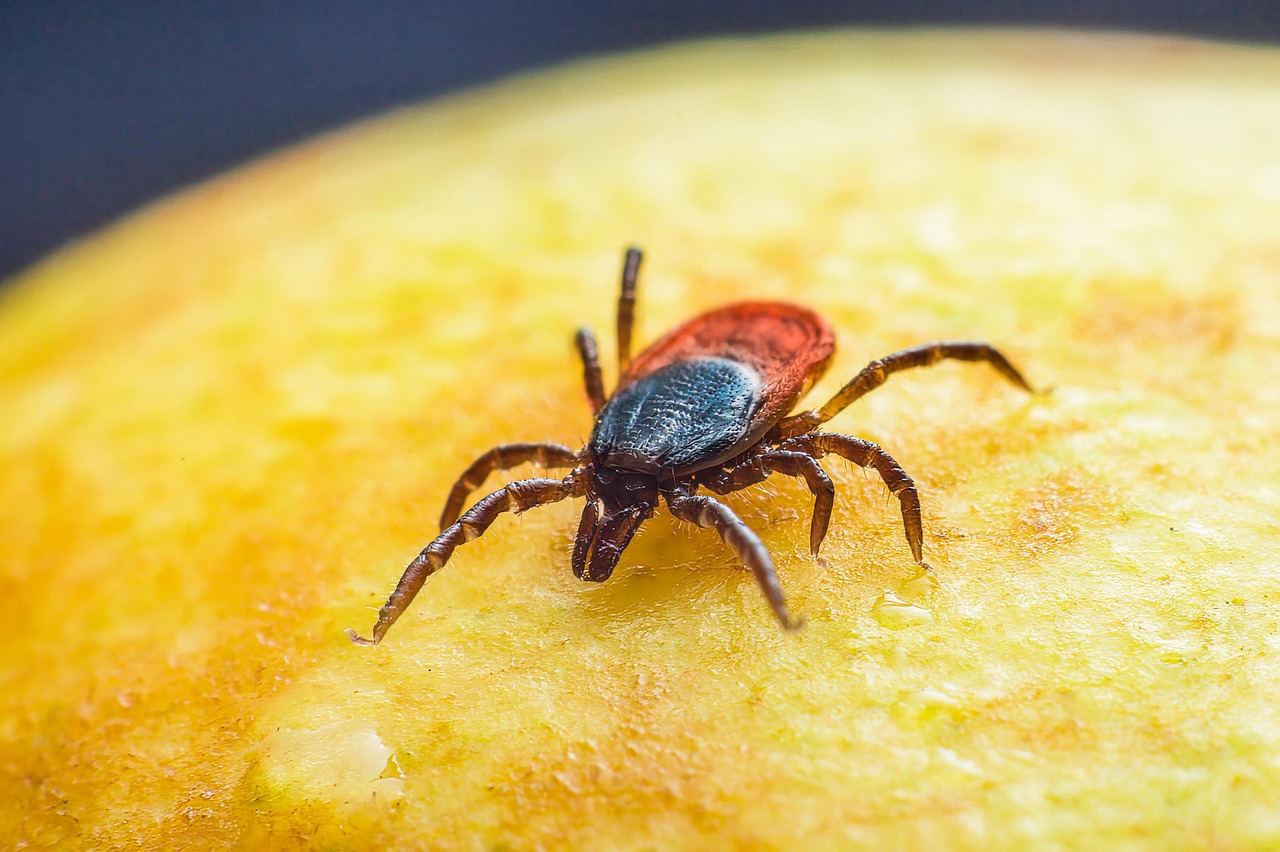
The moment of dread—your fingers freeze while petting your dog as you feel something small and round embedded in their fur. That unmistakable texture of a tick can send any dog owner into immediate concern. These tiny parasites aren’t just unpleasant discoveries; they pose serious health risks to your dog through the transmission of Lyme disease, ehrlichiosis, and other potentially dangerous infections.
Quick action using proper removal techniques can significantly reduce disease transmission risk. Ticks can begin spreading illness-causing pathogens within just 3-6 hours of attachment, making swift, correct removal critical to your dog’s wellbeing. Many traditional tick removal methods found online actually increase infection risks rather than reducing them.
Understanding both prevention strategies and proper removal techniques gives you powerful tools to protect your dog through every season. With tick populations expanding into new geographic areas, these skills have become essential knowledge for responsible dog owners everywhere.
What’s the Safest Way to Remove a Tick from My Dog?

Discovering a tick on your dog can be unsettling, but staying calm is essential for successful removal. The technique you use makes all the difference between safe extraction and potential complications. Let’s break down exactly how to remove these dangerous hitchhikers without causing harm.
The Right Tools for the Job
Never attempt tick removal with your bare fingers. You’ll need either fine-pointed tweezers or a specialized tick removal tool designed specifically for pets. These tools give you the precision needed to extract the entire tick without leaving parts behind.
Specialized tick removal tools often feature a small slot or hook that slides under the tick, eliminating the risk of squeezing the body. Many veterinarians prefer these tools because they reduce the chance of leaving mouth parts embedded in your dog’s skin.
Step-by-Step Removal Technique
Position is everything when removing a tick. Part your dog’s fur to fully expose the parasite. Grasp the tick as close to your dog’s skin as possible, catching it right where the mouth parts enter the skin. This grip is crucial for complete removal.
Apply steady, even pressure and pull straight upward. The key is continuous, gentle traction. Avoid twisting or jerking motions that can break the tick and leave parts behind. The process should be smooth and deliberate.
After removal, clean the bite area with a dog-safe antiseptic. Save the tick in a sealed container with alcohol if you want your vet to identify it or test it for disease.
Dangerous Methods to Avoid
Some widely-shared tick removal methods are actually dangerous. Never use petroleum jelly, nail polish, or other substances to “suffocate” the tick. These methods cause the tick to panic and regurgitate stomach contents into your dog’s bloodstream, increasing disease transmission risk.
Burning a tick with a match or lighter is another common but dangerous approach. This method can harm your dog and cause the tick to release more saliva and pathogens before dying.
Skip the household remedies entirely. A systematic review of tick removal methods confirmed that mechanical removal with tweezers or a specialized tool remains the safest, most effective approach.
Dealing with Complications
Sometimes the tick’s mouth parts break off and remain in the skin despite careful technique. If this happens, don’t dig into your dog’s skin with tweezers. The embedded parts will usually work themselves out naturally.
Monitor the bite area for signs of infection like increased redness, swelling, or warmth. If you notice these symptoms or if your dog develops fever, lethargy, or loss of appetite in the weeks following a tick bite, contact your veterinarian promptly.
What Should I Do After Removing a Tick from My Dog?

Swift action following tick removal can make all the difference in your dog’s health. Start by thoroughly cleaning the bite area with antiseptic soap and water or rubbing alcohol. This simple step helps prevent secondary infections that could complicate recovery.
Proper Tick Disposal
Never crush a tick between your fingers. These parasites can harbor disease-causing pathogens that might transfer to you. Instead, consider these safe disposal methods:
Place the tick in a sealed container with alcohol to kill it instantly. Alternatively, wrap it tightly in tape, ensuring it cannot escape. A sealed plastic bag works well too, especially if you want to suffocate the tick before throwing it away.
Consider preserving the tick in a small jar of alcohol if you’re concerned about potential illness. Having the actual tick can help veterinarians identify the species and associated disease risks if your dog develops symptoms later.
| Time After Tick Removal | Potential Symptoms |
| 3-6 hours | Pathogen transmission begins |
| 3-30 days | Early symptoms of Lyme disease such as flu-like symptoms, fatigue, fever, chills |
| 1-2 weeks | Muscle aches, intestinal symptoms |
| 2-3 weeks | Delayed symptoms of tick-borne illnesses may appear |
| Post-removal | Signs of infection like increased redness, swelling, warmth, or discharge at bite site |
Monitoring Your Dog’s Health
The days following tick removal are crucial for observation. Watch for fever, unusual lethargy, or reluctance to move normally. Joint pain might manifest as limping or sensitivity when touched. Reduced interest in food can signal early symptoms of tick-borne illness.
Check the bite site daily for increased redness, swelling, warmth, or discharge. These signs might indicate infection requiring medical attention. Some dogs develop a small, temporary bump at the bite location, which typically resolves on its own.
When to Seek Veterinary Care
Sometimes even careful removal leaves tick mouthparts embedded in your dog’s skin. This requires professional extraction to prevent ongoing irritation and infection. Don’t attempt deep probing yourself, as this can cause additional tissue damage.
Contact your veterinarian immediately if your dog shows concerning symptoms within weeks of tick exposure. Early intervention dramatically improves outcomes for tick-borne diseases like Lyme disease or Rocky Mountain spotted fever.
Remember that some tick-borne illnesses might not show symptoms for 2-3 weeks after the bite. This delayed response makes consistent monitoring essential, even when your dog seems perfectly fine initially after tick removal.
Conclusion: Protecting Your Dog from Tick Dangers
Effective tick prevention and proper removal techniques are essential parts of caring for your dog. We know from experience that consistent vigilance and safe handling are key to keeping dogs healthier and happier. Incorporating smart, reliable tools like the Halo Collar into your dog’s daily life can add an extra layer of protection.
The Halo Collar ensures your dog stays safely within designated boundaries, reducing the risk of venturing into tick-infested areas, but also promotes peace of mind for every outdoor adventure. Take action today by creating a simple tick-check routine and assembling a kit with fine-tipped tweezers and antiseptic. Together with the Halo Collar’s real-time location tracking, these steps help you confidently safeguard your dog against tick-borne threats while preserving the joys of outdoor exploration.
Want to dive deeper into dog wellness, safe handling, and seasonal care? Check out our Dog Health page for essential tips and expert guidance on keeping your dog healthy and happy all year long.